The following is a systematic troubleshooting guide for common problems of electric forklifts, which helps you quickly locate and solve the faults:
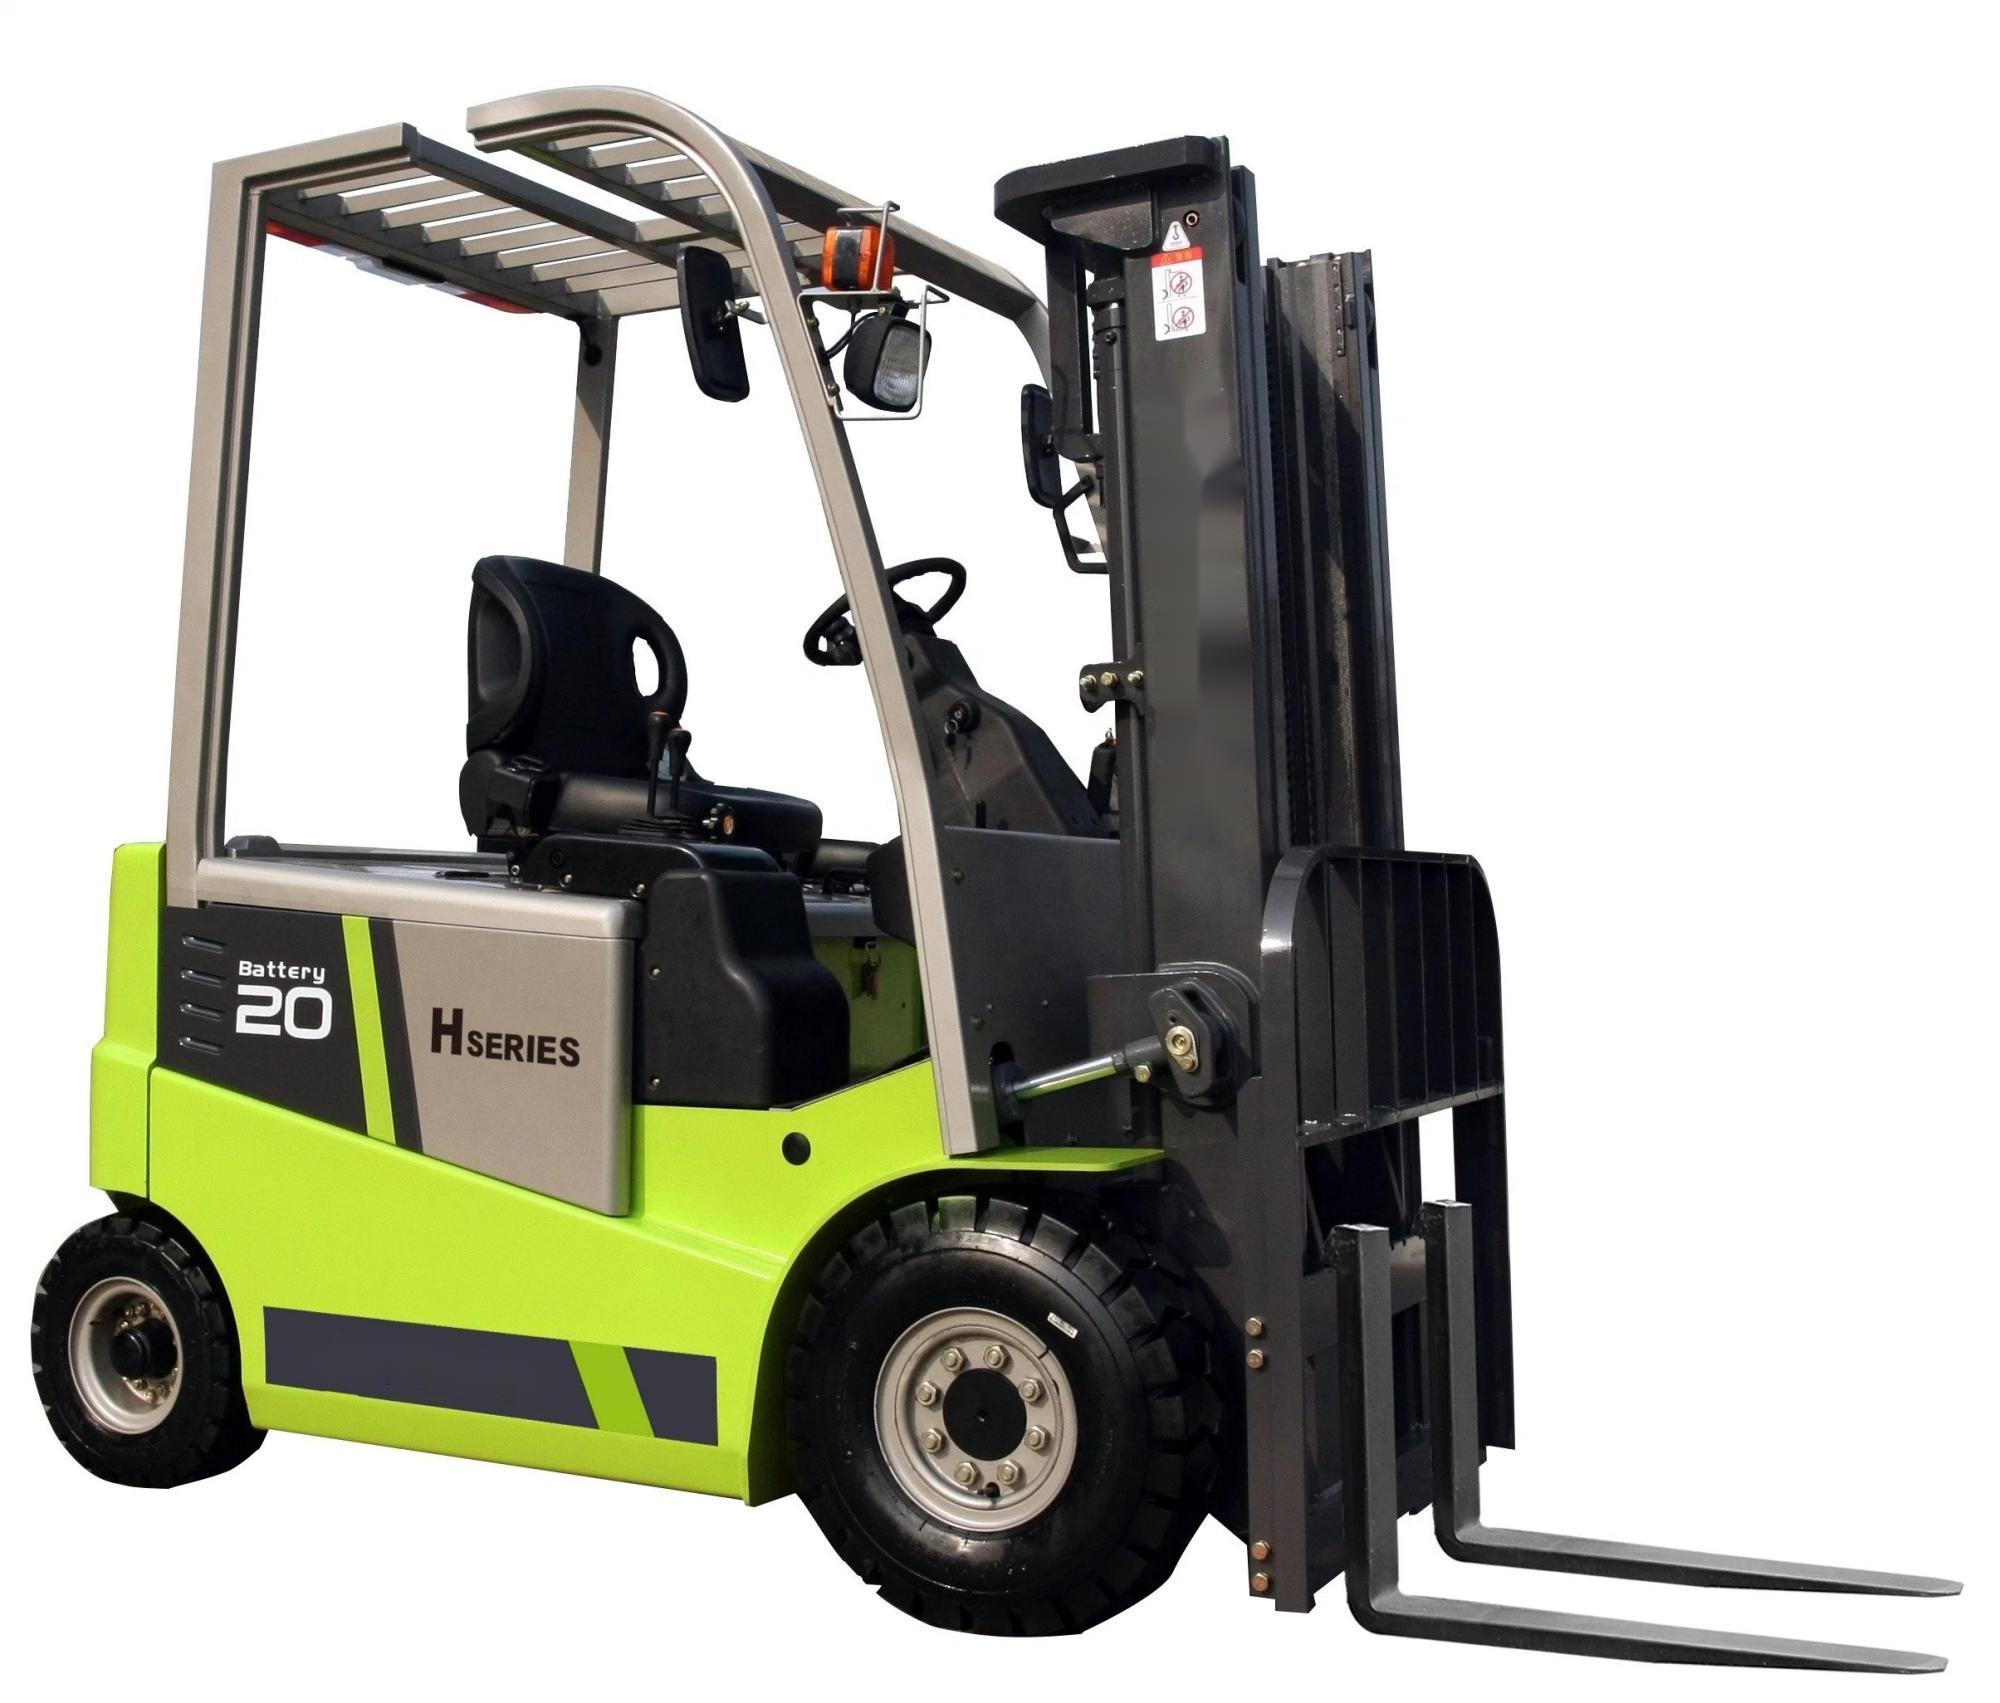
I. Battery System Troubleshooting
Can't Charge
Check whether the indicator light of the charger is normal, and try replacing the charger for testing.
After cutting off the power, check whether the battery connection wires are loose or oxidized. Re-plug them and clean the terminals.
Measure the total voltage of the battery pack. If the voltage of a single cell is lower than 1.75V (for lead-acid batteries), the battery may need to be replaced.
Check whether there is dust accumulation or corrosion inside the charging socket, and clean it with a dry cotton swab.
Short Battery Life
Perform three deep charging and discharging cycles (fully charge after using up the power) to activate the battery.
Use a multimeter to detect the internal resistance of the battery. If the internal resistance is too large, it needs to be repaired or replaced.
Preheat the battery in advance in a low-temperature environment, and avoid frequent sudden accelerations and sudden brakes.
II. Motor System Troubleshooting
The Motor Doesn't Rotate
Check whether the fuse is blown and whether there are fault codes in the controller (for example, E01 indicates overcurrent).
Use a multimeter to measure the resistance of the motor windings. The three-phase resistances need to be balanced (the error ≤ 5%), otherwise repair the motor.
Check whether the grounding wire of the motor is loose to ensure normal communication between the controller and the motor.
Insufficient Power
Test the motor speed under no-load conditions. If it is significantly lower than the rated value, check whether the bearing makes abnormal noises or gets stuck.
Measure whether the power supply voltage is stable (for example, for a 48V system, it needs to be ≥ 45V), and check whether the contacts of the contactor are burnt.
Reset the controller parameters, restore the factory settings, and then recalibrate.
III. Hydraulic System Troubleshooting
Slow Lifting
Check whether the hydraulic oil is turbid or the liquid level is lower than the scale line, and replace or replenish it in a timely manner (it is recommended to use ISO VG 46 anti-wear hydraulic oil).
Use a pressure gauge to detect the system pressure. When the pressure of the safety valve is insufficient, adjust it slightly clockwise (operated by a professional).
Manual oil pump test: If the manual lifting is normal, it indicates a fault in the electric oil pump.
Fork Stuttering
Listen for a "gurgling" sound in the oil cylinder when operating the lifting handle. The air exhaust method: Lift and lower the fork repeatedly until there are no bubbles.
Check whether the guide wheels are worn, resulting in an excessive gap, and adjust or replace the guide wheel assembly.
When the oil temperature is too low, run the forklift under no-load for 10 minutes to preheat the hydraulic oil.
IV. Brake System Troubleshooting
Brake Failure
Step on the brake pedal. If the stroke exceeds 1/3, the length of the push rod needs to be adjusted.
Check whether the brake fluid is leaking (commonly found at the oil pipe joints or wheel cylinders), and bleed the air after replenishing the DOT3 brake fluid.
Measure the thickness of the brake pads. If it is less than 3mm, it needs to be replaced (at the same time, check whether the brake disc is grooved).
Brake Pulling to One Side
If the wear difference of the brake pads on the left and right wheels exceeds 2mm, they need to be replaced in pairs.
Use a laser locator to check the toe-in of the front wheels (recommended to be 0~2mm), and adjust the steering tie rod.
When the piston of the wheel cylinder is stuck, clean it with a special tool and lubricate it with brake fluid.
V. Electrical System Troubleshooting
Light/Horn Failure
First, check the corresponding fuse in the fuse box (such as a 10A glass tube fuse), and use a tester to test the continuity of the circuit.
When the horn doesn't sound, short-circuit the output terminal of the relay. If it sounds, replace the relay; otherwise, check the contacts of the button.
If the lights are dim, it may be that the grounding wire is loose. Re-tighten the grounding wire between the vehicle body and the lights.
Preventive Maintenance Suggestions
Daily Inspection: Check the battery electrolyte level, tire pressure, and hydraulic oil level.
Weekly Maintenance: Clean the motor carbon brushes, lubricate the gantry chain, and check the water content of the brake fluid (replace it if it is > 3%).
Quarterly Maintenance: Calibrate the controller parameters, test the hydraulic system pressure, and check the wear of the contactor contacts.
Annual Maintenance: Replace the gear oil, thoroughly clean the hydraulic oil tank, and comprehensively test the battery capacity.
Precautions: Be sure to cut off the power supply and hang a warning sign before maintenance. High-voltage components (such as the motor controller) need to be operated by professionals. If it is difficult to troubleshoot by yourself, it is recommended to contact the authorized service center of the manufacturer.


